


Types of Horse Carriage Shafts
We all like to have choices, but when you are starting out in horse driving, choices can be confusing. Yes, there are more styles of shafts than just straight ones. The style of shafts you have on your vehicle can dictate what type of horse harness and parts are appropriate for them. In this article, we will discuss the different types of shafts, and what types of harness parts you would use with the certain types of shafts.

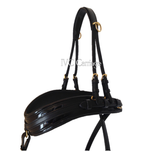
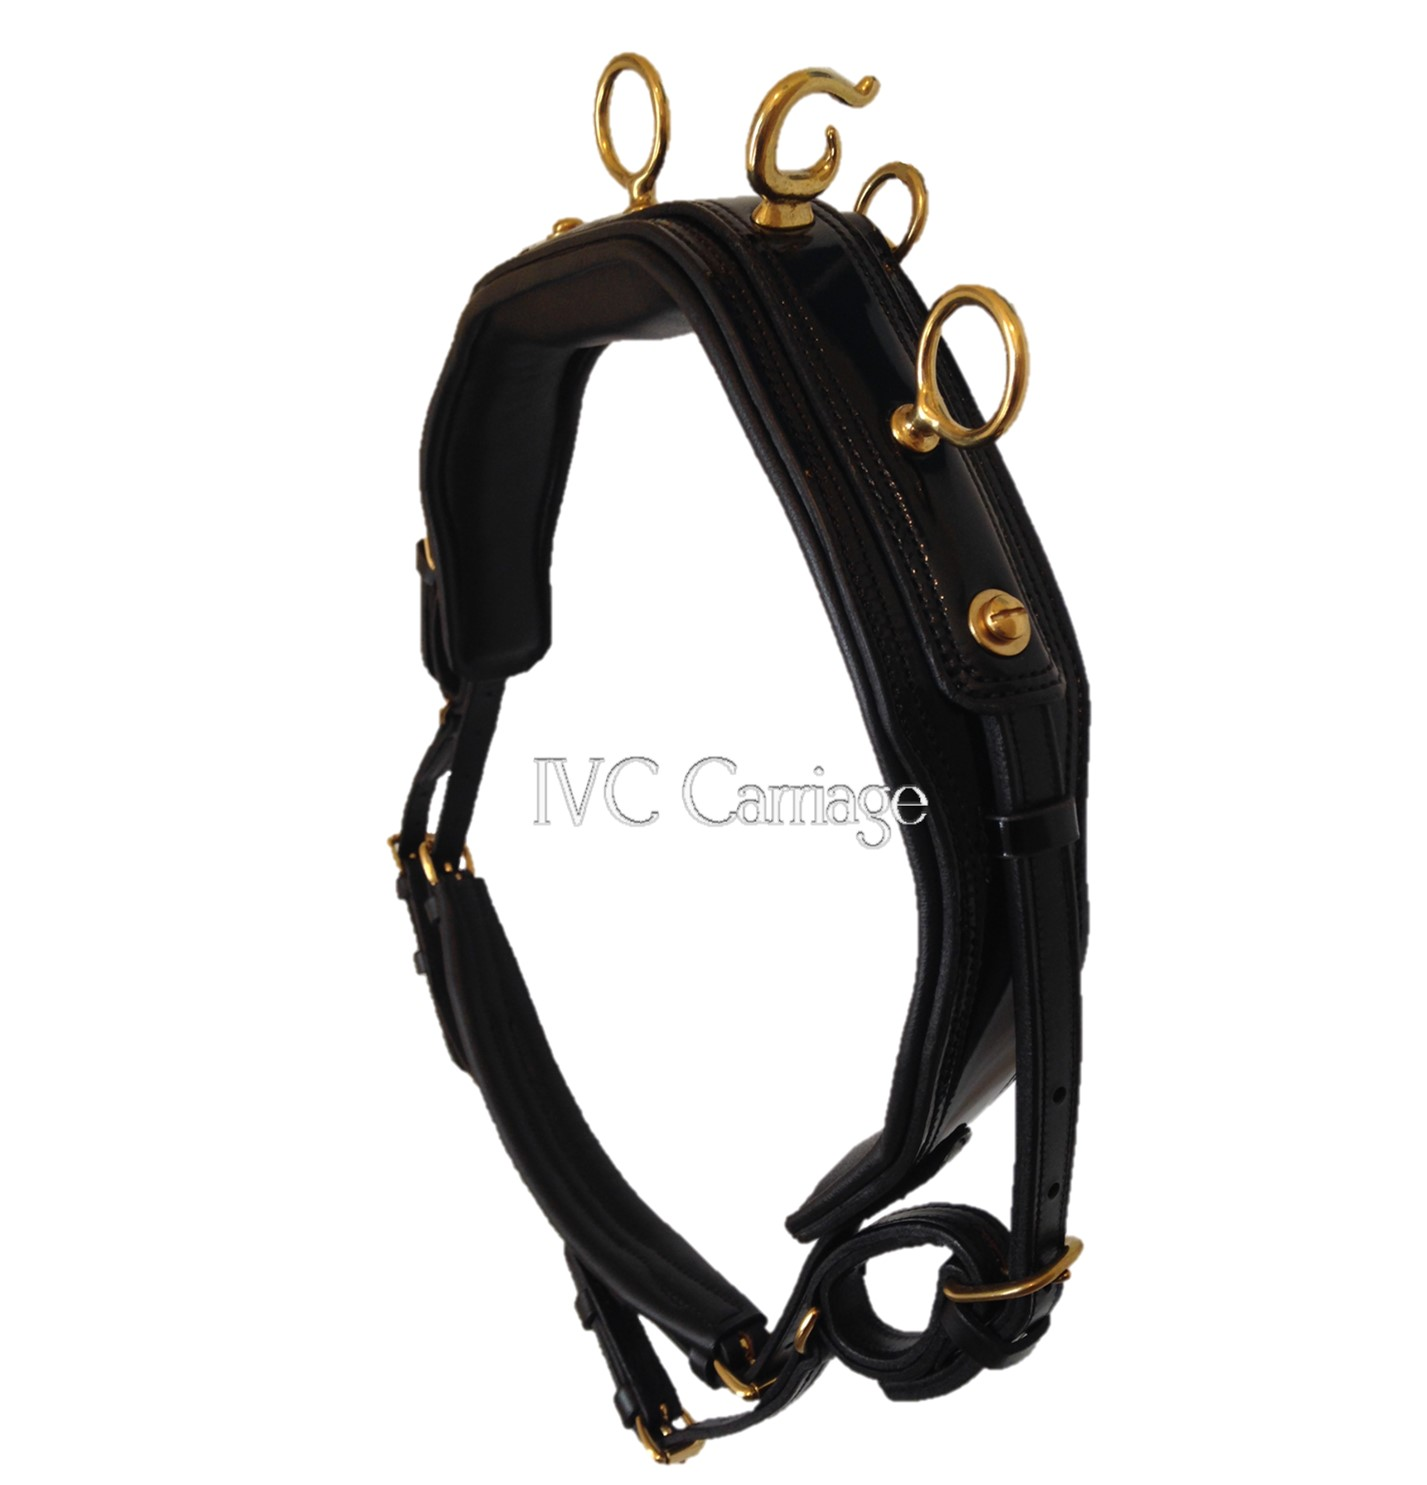
First, just to clarify, shafts are used for a single horse put to a vehicle, either a two-wheeled cart or a four-wheeled carriage. Some people may refer to shafts as “fills”. I have not found an official source that uses this nomenclature, so for this article we will continue to use the term “shafts”. The shafts are on either side of the horse, while the cross bar, possibly the circle bar, and singletree are behind the horse when he is put to. A pair of horses side-by-side would use what is called a pole, which requires completely different harness parts.
Wood shafts are the original, traditional form of horse carriage shafts. In any style, they are not adjustable, and need to be the appropriate length for your horse or pony. Metal is a "newer' material used for shafts within the history of carriage driving, and some metal shafts are not adjustable, either. Some more modern, higher-end vehicles come with adjustable metal shafts, both for length as well as width, to fit a larger variety of horse body lengths correctly.

These shafts are way too short for this horse. He has adequate room behind him, but the shaft tip is not at the point of his shoulder. He can't have the traces shortened to put him back in the shafts because then he would be too close to the cart. In a turn, he would get the shaft tip jabbed into his shoulder. Also, if the shaft tug happens to move forward, or the trace accidentally comes off, this shaft could slip out of the shaft tug, and the shafts would fall. He simply needs longer shafts.
Shafts that are too long can put the horse way out in front of you, while shafts that are too short are dangerous in a number of ways. Depending on the style of the vehicle and the size of the horse, there should be 8-20” of clearance from the horse to the closest part of the vehicle. That part may be the singletree or the dash depending on how the vehicle is constructed. Certain vehicles may have more horse leg room if the box is higher or the floorboards are tipped back away from the horse. You definitely do not want the horse to hit his legs or hooves on the vehicle anywhere. That may cause him to panic and take off. Certain vehicles may be able to have different shafts purchased to make the vehicle safer and more appropriate for the length of the horse. Other vehicles may require a complete reconstruction of the vehicle depending on how it is made in order to change the shafts.


We made this little Meadowbrook style cart above for minis, and it had 50" shafts. When we needed a larger cart for this 48" pony, we replaced the cart shafts with 60" shafts and got larger wheels to raise the cart. Since the shafts are integral to the style and support of the cart, we had to basically rebuild the cart to change the shafts.

The four-wheel carriage has single-bend (or bent or drop heel) shafts that attach to the carriage with pins. These shafts can easily be removed and replaced because they are not integral to the body of the carriage.

This cart has double-bend shafts which are integral to the vehicle. The lowered heel allows the body of the cart to sit lower to provide more stability.
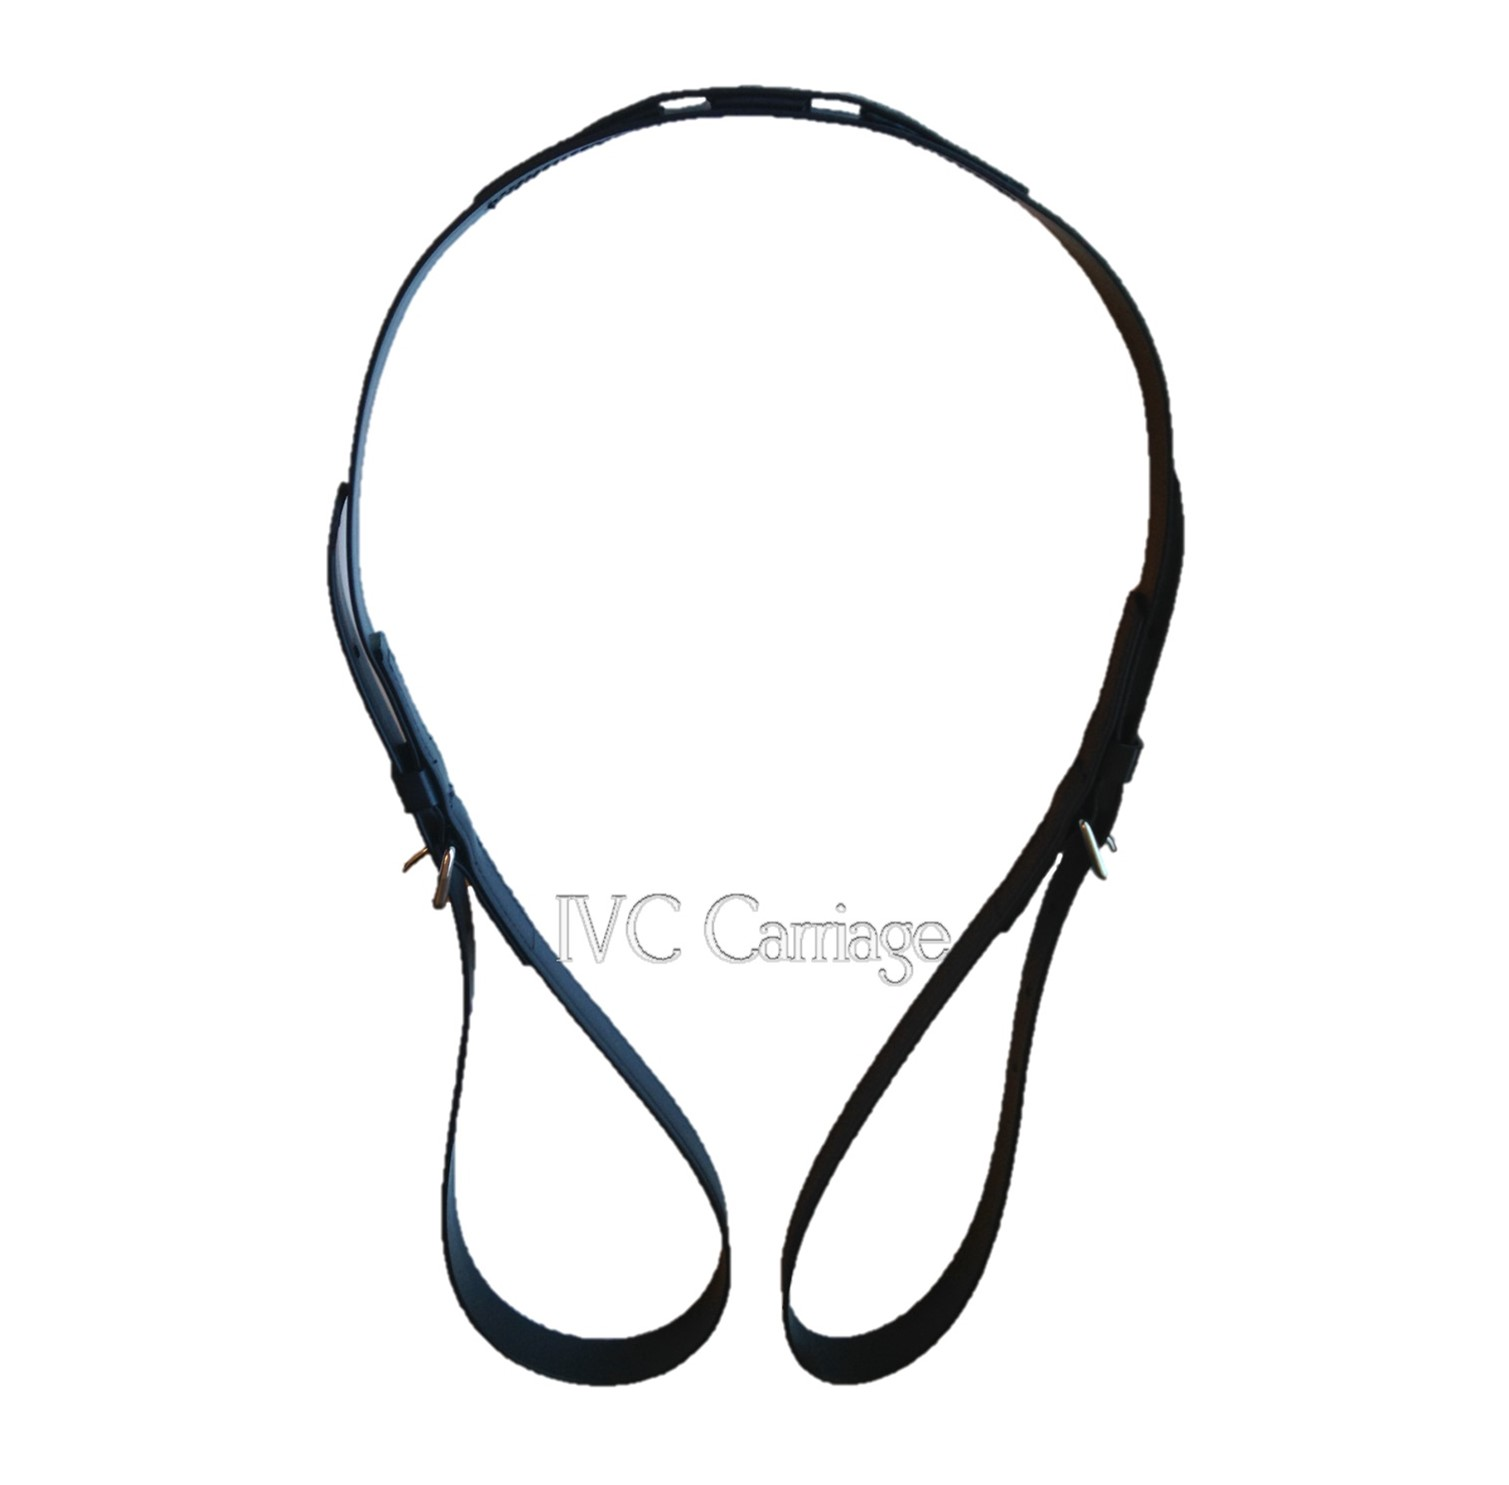
In general, the length of the shafts, not the length of the horse, dictates the length of the horse harness traces when you order a harness. This is why we ask for the length of your vehicle shafts. If the vehicle shafts are the correct length for the horse, and the traces are too short, the shafts will be too far ahead of the horse. In this case, trace extenders can be used, but it is better to get the appropriate length traces if the breast collar has buckle-in traces. If the breast collar has sewn-in traces, extenders need to be used, or an entire breast collar and traces need to be purchased.

I didn't think to check the length of the shafts on this new-to-us cart before we had arranged for Calon's first put to. These traces are way too short, and the shafts are really long, and stick out dangerously past this pony's shoulders. Since we had help that day, we went with it for a brief period of time, but I ordered longer traces to go with this cart after this.

We now have the traces to go with this cart. The shafts are still ridiculously long, but it does help keep young pony legs away from the driver's face, so it works great as a breaking and first show cart. This pony is wearing a kick strap regardless because he was young in this photo, and it was his first show.
If the traces are too long, the shafts will be too far back. Traces can be shortened by punching holes where they attach to the breast collar, but that may put a lot of extra material in front of the horse’s breast collar. Depending on the trace ends, holes or slots may be added on the ends, but the best and easiest thing to do is get the right length traces. A harness with buckle-in traces is most beneficial for this reason! We have a number of lengths of traces in our tack room to go with a number of vehicles in our collection.
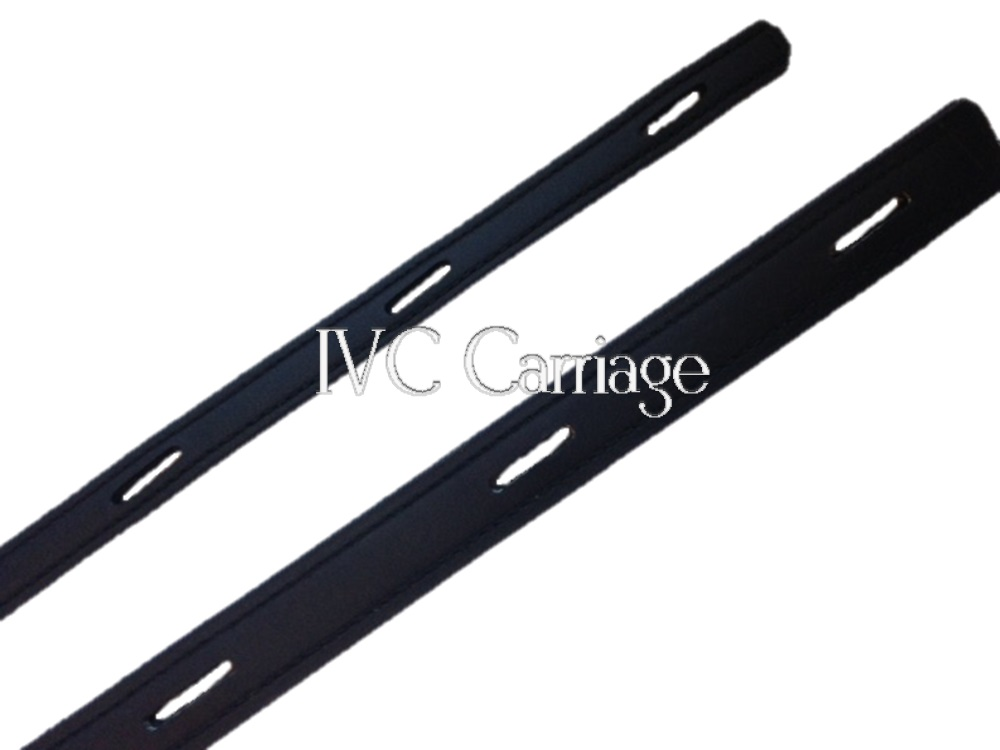
As we indicated above, the most typical type of shafts are simple straight shafts. They have no vertical bends in them, and are normally seen on typical carts. They don’t need any special type of harness to be used with them. Most straight shafts can be used with just regular open tugs on the harness saddle. It is highly important that the harness traces allow for the tips of straight shafts to be adjusted to the point of the horse’s shoulders. When the shaft tip is at the point of the shoulder, there should be adequate room behind the horse for his stride. If the shaft tips are beyond the point of the shoulder, he risks bumping his head on the shafts. If they are too short, the shafts risk coming out of the shaft tugs (aka shaft loops). If this happens and the shafts drop to the ground, it can cause a catastrophic accident for both the horse and the humans. Straight shafts can also be used with basically any type of harness shaft tugs.
The next type of shafts are commonly known as Gig shafts. There may be a more official term, but I was not able to find another in the sources I have. Just like all other wooden shafts, they are steam bent to shape, both horizontally and vertically. They are used with both some two-wheeled vehicles as well as some four-wheeled ones. They have varying degrees of bend, and generally, the highest point of the shafts should be at the saddle, with the shaft tugs holding up the highest part. This means that the tugs need to be adjusted higher on the tug bearing straps of the saddle than regular straight shafts. In a two-wheeled cart, this is especially imperative to keep the seat of the cart level. I have seen some cheaper vehicles try to use bends in the shafts like Gig shafts, but put the bend in the wrong location. This makes it impossible for the tugs to be used in the correct location. Truly, it is important to know and understand why carriages are made a certain way, and not just try to emulate a part just because it “looks cool”.

"Swan neck" gig shafts on a nice gig cart, used with French tugs on the saddle, and a full collar.
Gig shafts need to be used with French tugs, because it is very hard to get the bend of the shafts through the sewn oval of the Open tugs. While Gig shafts can be used with a breast collar, they are often used with a full collar, as the downward bend of the shafts won’t interfere with the full collar like straight shafts would. Straight shafts used with a full collar can get under a hame tug in a turn, and catch. Gig shafts, in general, should also have the tips of the shafts positioned at the points of the shoulders.
Marathon shafts are the newest form of shafts. They are shorter, and designed be attached at the saddle so as to free up the shoulders of the horse in a tight bend, such as in a Combined Driving marathon obstacle. Since they are so short, they have some form of closed ends which need to be used with shaft tugs that open to accept the shafts. Marathon shafts cannot be used with regular Open tugs. They must be used with Quick Release tugs, French tugs, or Wrap tugs. If you obtain a vehicle that has marathon shafts, you may need to replace the tugs if they are of the Open pattern with one of those other types of tugs. For more information on the types of harness tugs, see the article on this page.


Marathon shafts are often adjustable both for length and width (within reason). The shafts are bent in the middle, and the ends are usually held high on the saddle. Rules of combined driving state that there should be no less than 50cm in length between the horse or pony and the vehicle. (As of this writing, there are no official clearance rules for miniature horses or Very Small Equines. The organizations that offer clearance rules as such do not offer separate classes or divisions for minis, so if shown, they would show with the ponies.) To figure out how long the shafts should be requires a bit of work on behalf of the person setting the shafts. The horse should be placed in the vehicle with the shaft tugs even the saddle (not pulling forward or back), and then a measurement taken of the length between the horse and the vehicle. Then, the shafts can be adjusted forward or back depending on the requirements. The width is generally adjusted by tipping the shafts in or out. The shaft tugs should not pull away from the saddle when the horse is put to, nor should the horse be squeezed between the shafts. The form of securing the shaft length depends on the manufacturer, but it usually involves using wrenches to adjust set screws, which lock with pressure.
There are some marathon shafts which have telescoping ends, which means that the end rings themselves move in and out of the shaft ends, with some that are spring loaded. This allows for a little more “forgiveness” of the shaft end as the horse turns tightly in an obstacle. The term “telescoping” should not be confused with how the shafts adjust. All marathon shafts are adjustable with the whole ends sliding into the bases. Not all marathon shafts have the telescoping ring ends. Marathon tugs can be used with telescoping shafts to stabilize the tugs on the saddle.

We have telescoping ends on our single marathon vehicle which are covered by the leather material on the ends. (We actually have these "upside down" so that there is more sideways room for the horse's hind legs in a turn.) The end of the shaft is spring loaded and can move forward and back when necessary.
There are some shafts which are somewhat of a hybrid between different styles of shafts. Our presentation vehicle (below) has shafts that are slightly bent like Gig shafts, but are shorter like Marathon shafts to allow more room for the horse to bend in driven dressage. The ends are not closed, but there are permanently mounted tug stops to keep the tugs in place on the shafts. These shafts must be used with French tugs that cinch down tightly on the shafts between the tug stops. The tug stops don’t allow regular Open tugs to go over them, and if Quick Release tugs are used, the shafts could jump out of the rings of the tugs and fall to the ground depending on how big the loops are of the tugs.

With a little practice and experience, you should be able to tell at a glance what type of shafts are on a vehicle, and what type of harness parts you need to go with them. As always, if you have any questions on this or any other carriage driving topic, search our library of articles, and please feel free to contact us.
Go to all IVC Educational Blog Posts
If you have arrived at this blog post directly, there is much more to see and read in our full blog!


- Choosing a selection results in a full page refresh.