


Harness Parts You Didn’t Know
There are lots of horse harness parts. There are some really good horse harness parts charts to teach you those parts. But did you know that there are parts attached on those harness parts that have names, too? Most people don’t generally know them because they are primarily used by the harness makers and the people supplying the hardware. We, as harness retailers, need to know the names of those parts because every once in a while, someone needs to replace them. And I just like having a really good knowledge of what it is that I am working with! Here are some that you may not have known.
Noseband Hangers

A proper driving bridle is made a little differently than a riding bridle. A driving bridle doesn’t have a caveson that has a strap that goes over the horse’s crown. The noseband is held with noseband hangers. These hangers allow the noseband to be adjusted up and down on the horse’s nose. They are buckled in under the buckle which is above the blinker. This eliminates an extra buckle on the side of the face along side the blinker. There should also be a keeper on the side of the cheek of the bridle which keeps the noseband hangers, and ultimately the noseband, next to the horse’s face. This keeps the blinkers from gaping away from the face. If the bridle doesn’t include a noseband and hangers, or if they are the wrong size, they can be purchased to add to the bridle. Extra keepers can be purchased as well, and we can show you how to put them on the bridle.
Jaw Strap

If your noseband is a double buckle one, the part between the buckles is called the jaw strap. If you have a single buckle noseband, there is no jaw strap because the buckle is just attached to the end of the noseband. The cool thing about a double buckle noseband is not only does it keep the buckles off of the jawbones, whereas a single buckle can be on the jawbones, but you can get different lengths of jaw straps to suit different sizes of horses. We have a number of jaw straps in our tack room that we can use with one noseband so that we can customize the fit of the jaw strap against the jawbones, and not have to buy a completely new noseband.
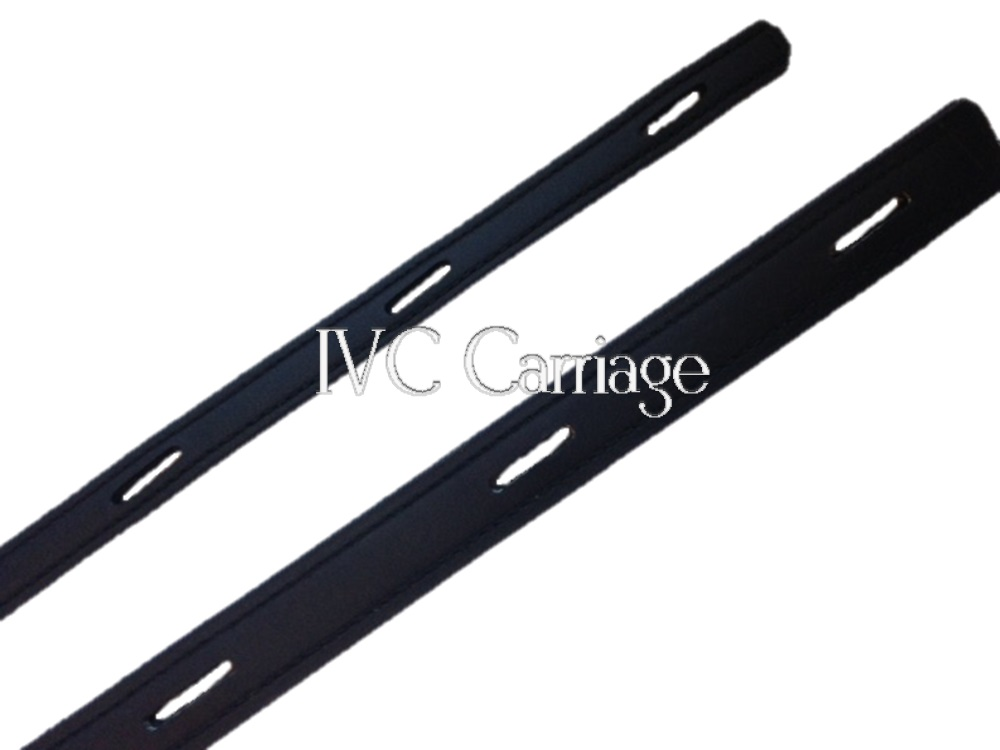
Tug Bearing Straps

As the name infers, the tug bearing straps bear, or hold, the harness tugs, which some people refer to as shaft loops. When you purchase a harness saddle alone, they will be attached. Lots of people don’t realize that many tug bearing straps can be replaced, though, if necessary. If your tug bearing straps are too short or too long, you may not have to replace the entire saddle. Just unscrew the rein terrets and the saddle screws, and the tug bearing straps should slip out! You may need to break the “seal” between the strap and the saddle with a plastic knife if they don’t slip out readily. I have also had tug bearing straps break at the holes where the terret and screw are punched when the horse had some sort of incident, in which case, I had new tug bearing straps sent to me. Some harness makers have tug bearing straps that are attached with metal plates under the top layer of the saddle. It’s just a different form of construction, and I personally don’t have a preference for one over the other.
On our Endura and Extra Endura harnesses, we include both long and short tug bearing straps, because if you use your harness with a marathon vehicle, the shaft tugs are attached higher on the tug bearing straps. The longer tug bearing straps have a lot of material to push through the Quick Release tugs, so we include shorter ones to be used with QR tugs on a marathon vehicle. However, if you use that harness with a typical cart, the short tug bearing straps will be too short, and your shafts will be too high! We don’t have extra tug bearing straps on our website, because it’s not a part that people replace often, but if you do need to replace them for one of the harnesses we carry, we can get them for you.
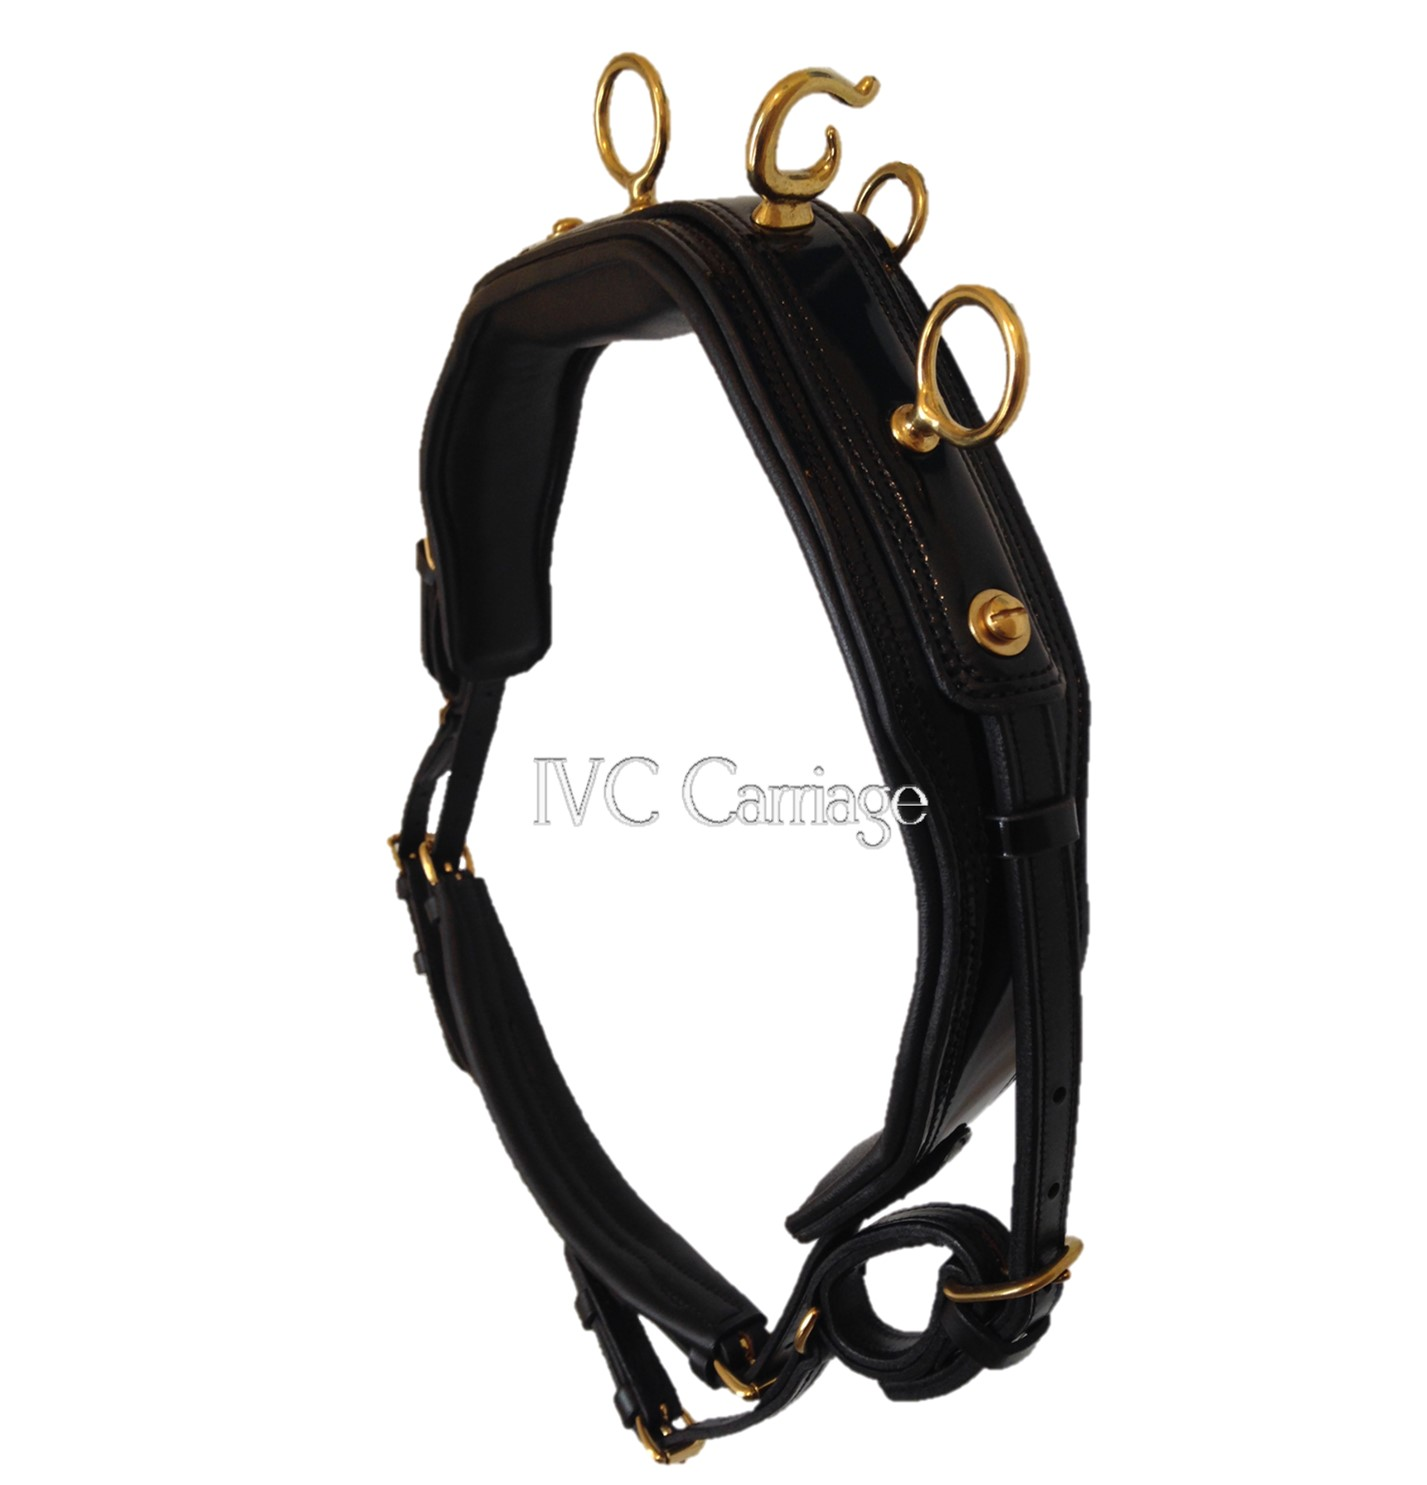
Pug Seat

Some harnesses have a riding saddle-looking piece on top of the harness saddle under the water (check) hook. Maybe back in the day, a pug seat had a purpose. I was not able to find a source that indicated that. However, nowadays, they are basically decorative. We have them on our Smucker Super Deluxe harnesses, and they are covered in patent leather. Many years ago, my first mini harness had one, but my second didn’t come with one. I called the company asking about it, and they told me that since the time that I had purchased the first harness, mini-sized pug seats were not being made and no longer available. Horse and pony sized ones are still being made.
Overgirth / Belly Band

Many harness charts include the overgirth, aka belly band, on the chart, but some do not, hence why I am including it here. Depending on the construction of the girth, the overgirth can be included in the girth with a snug keeper on the bottom of the girth, or the keeper can be larger so that the overgirth can be separated from the grith. We have harnesses built both ways.
The overgirth is used with regular Open tugs, French tugs, and Quick Release tugs. It is not used with a wrap strap girth since the wrap straps take the place of an overgirth. The overgirth keeps the tugs down, and ultimately the shafts from jumping up, which keeps a two-wheeled cart from flipping over backwards. That overgirth is especially important with a two-wheeled cart! With a four-wheeled vehicle, it stabilizes the shaft tugs and the shafts. When adjusted correctly, the overgirth allows for a little play, so that the shaft motion doesn’t transfer to the horse. If the overgirth (or especially the wrap strap) is too tight, every bump borne by the shafts will be felt by the horse through the girth.
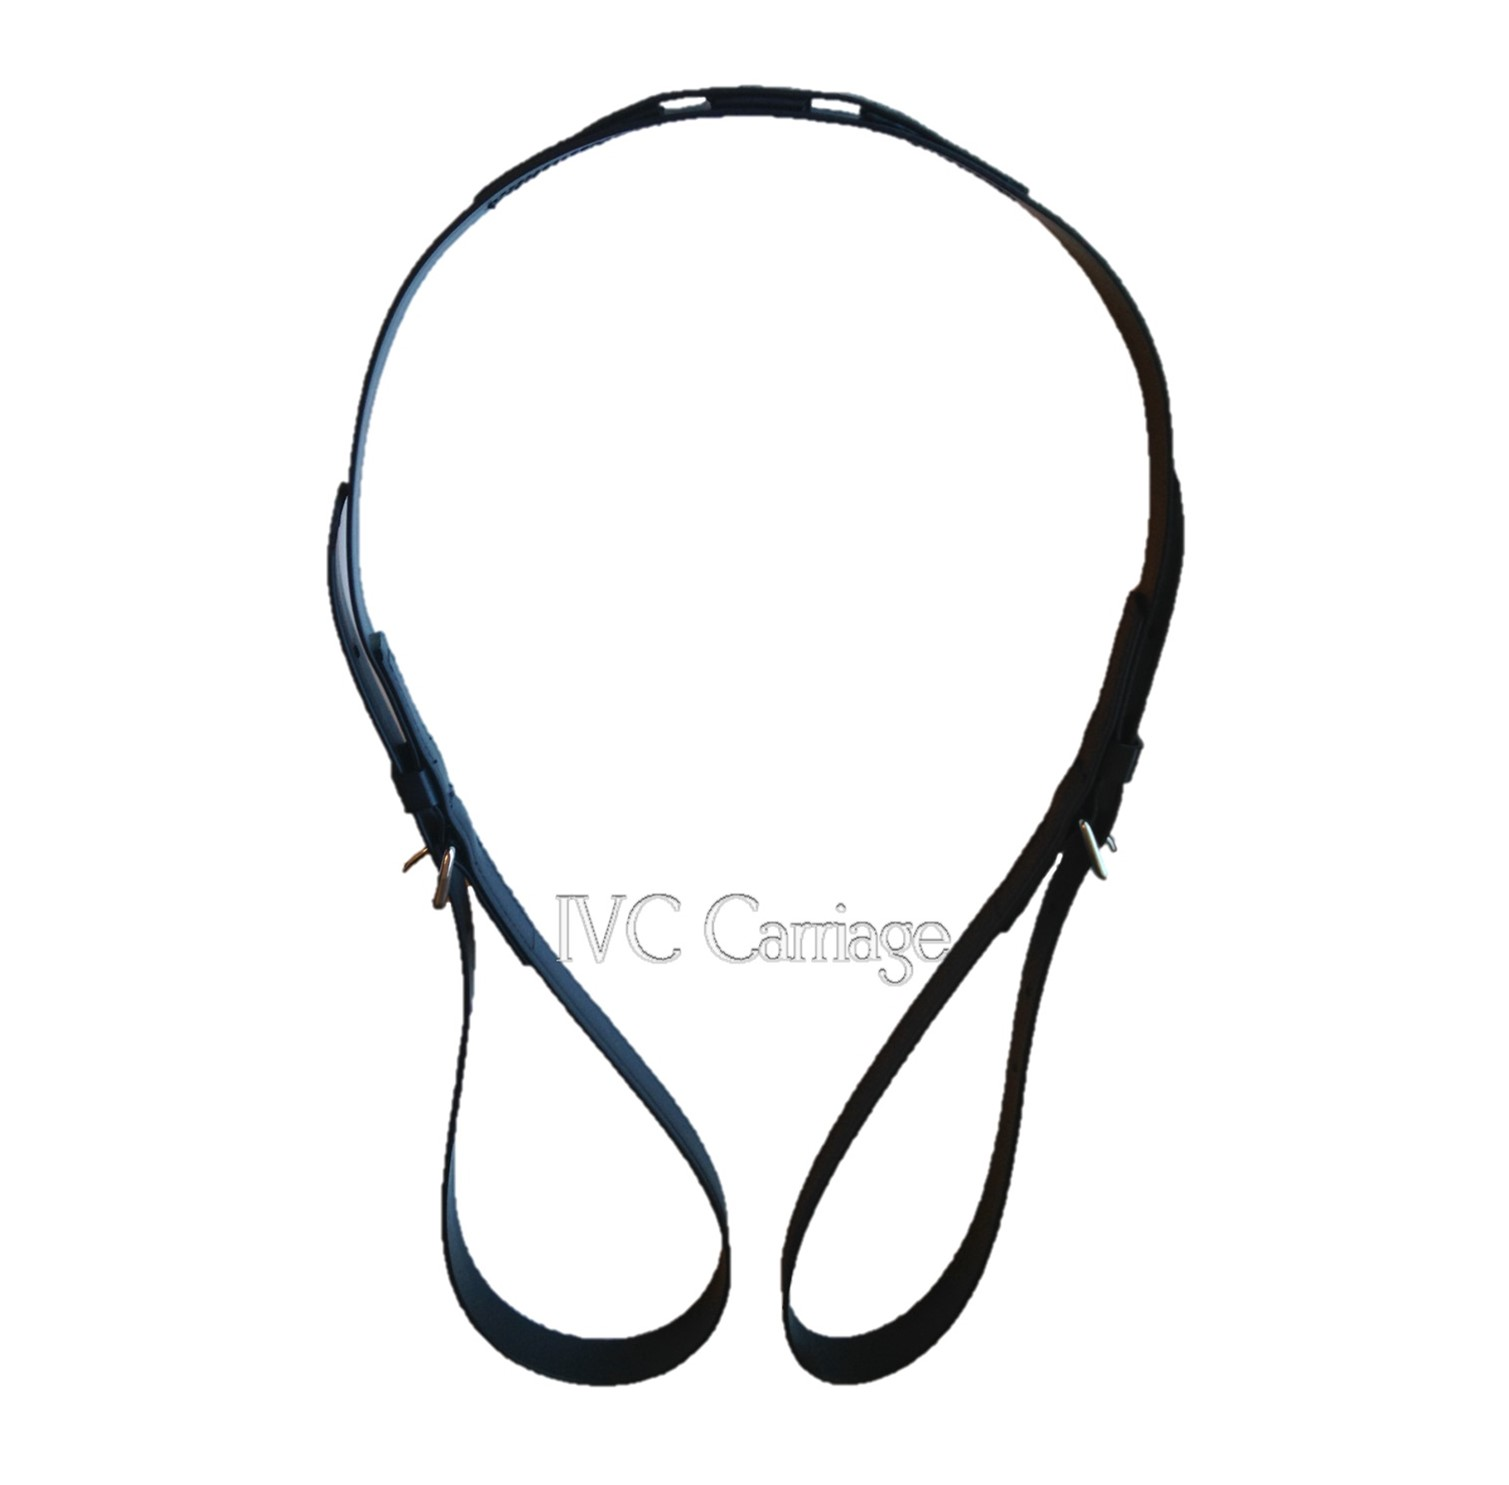
Floating Keeper

You know that keeper on the turnback (backstrap) that you can easily loose if you aren’t careful when you are cleaning the harness? That is the floating keeper, because it isn’t attached to anything. It keeps the two layers of the turnback together for a cleaner look. Some higher end harnesses even use two floating keepers on the turnback. If you happen to loose one, don’t worry. We have replacements you can purchase. You’d be surprised how much that happens!
Breeching Dee


In the UK, they refer to breeching dees as what we would call footman loops on the carriage shafts. The breeching dees in the UK hold the holdbacks (or breeching straps) on the shafts. In the states, we refer to breeching dees as the little pieces of hardware that are D-shaped, which are sewn into the layers of the breeching itself, onto which are sewn the uptugs. (We will discuss those below.) I have some harnesses that use breeching dees for the uptugs on the breast collar as well.
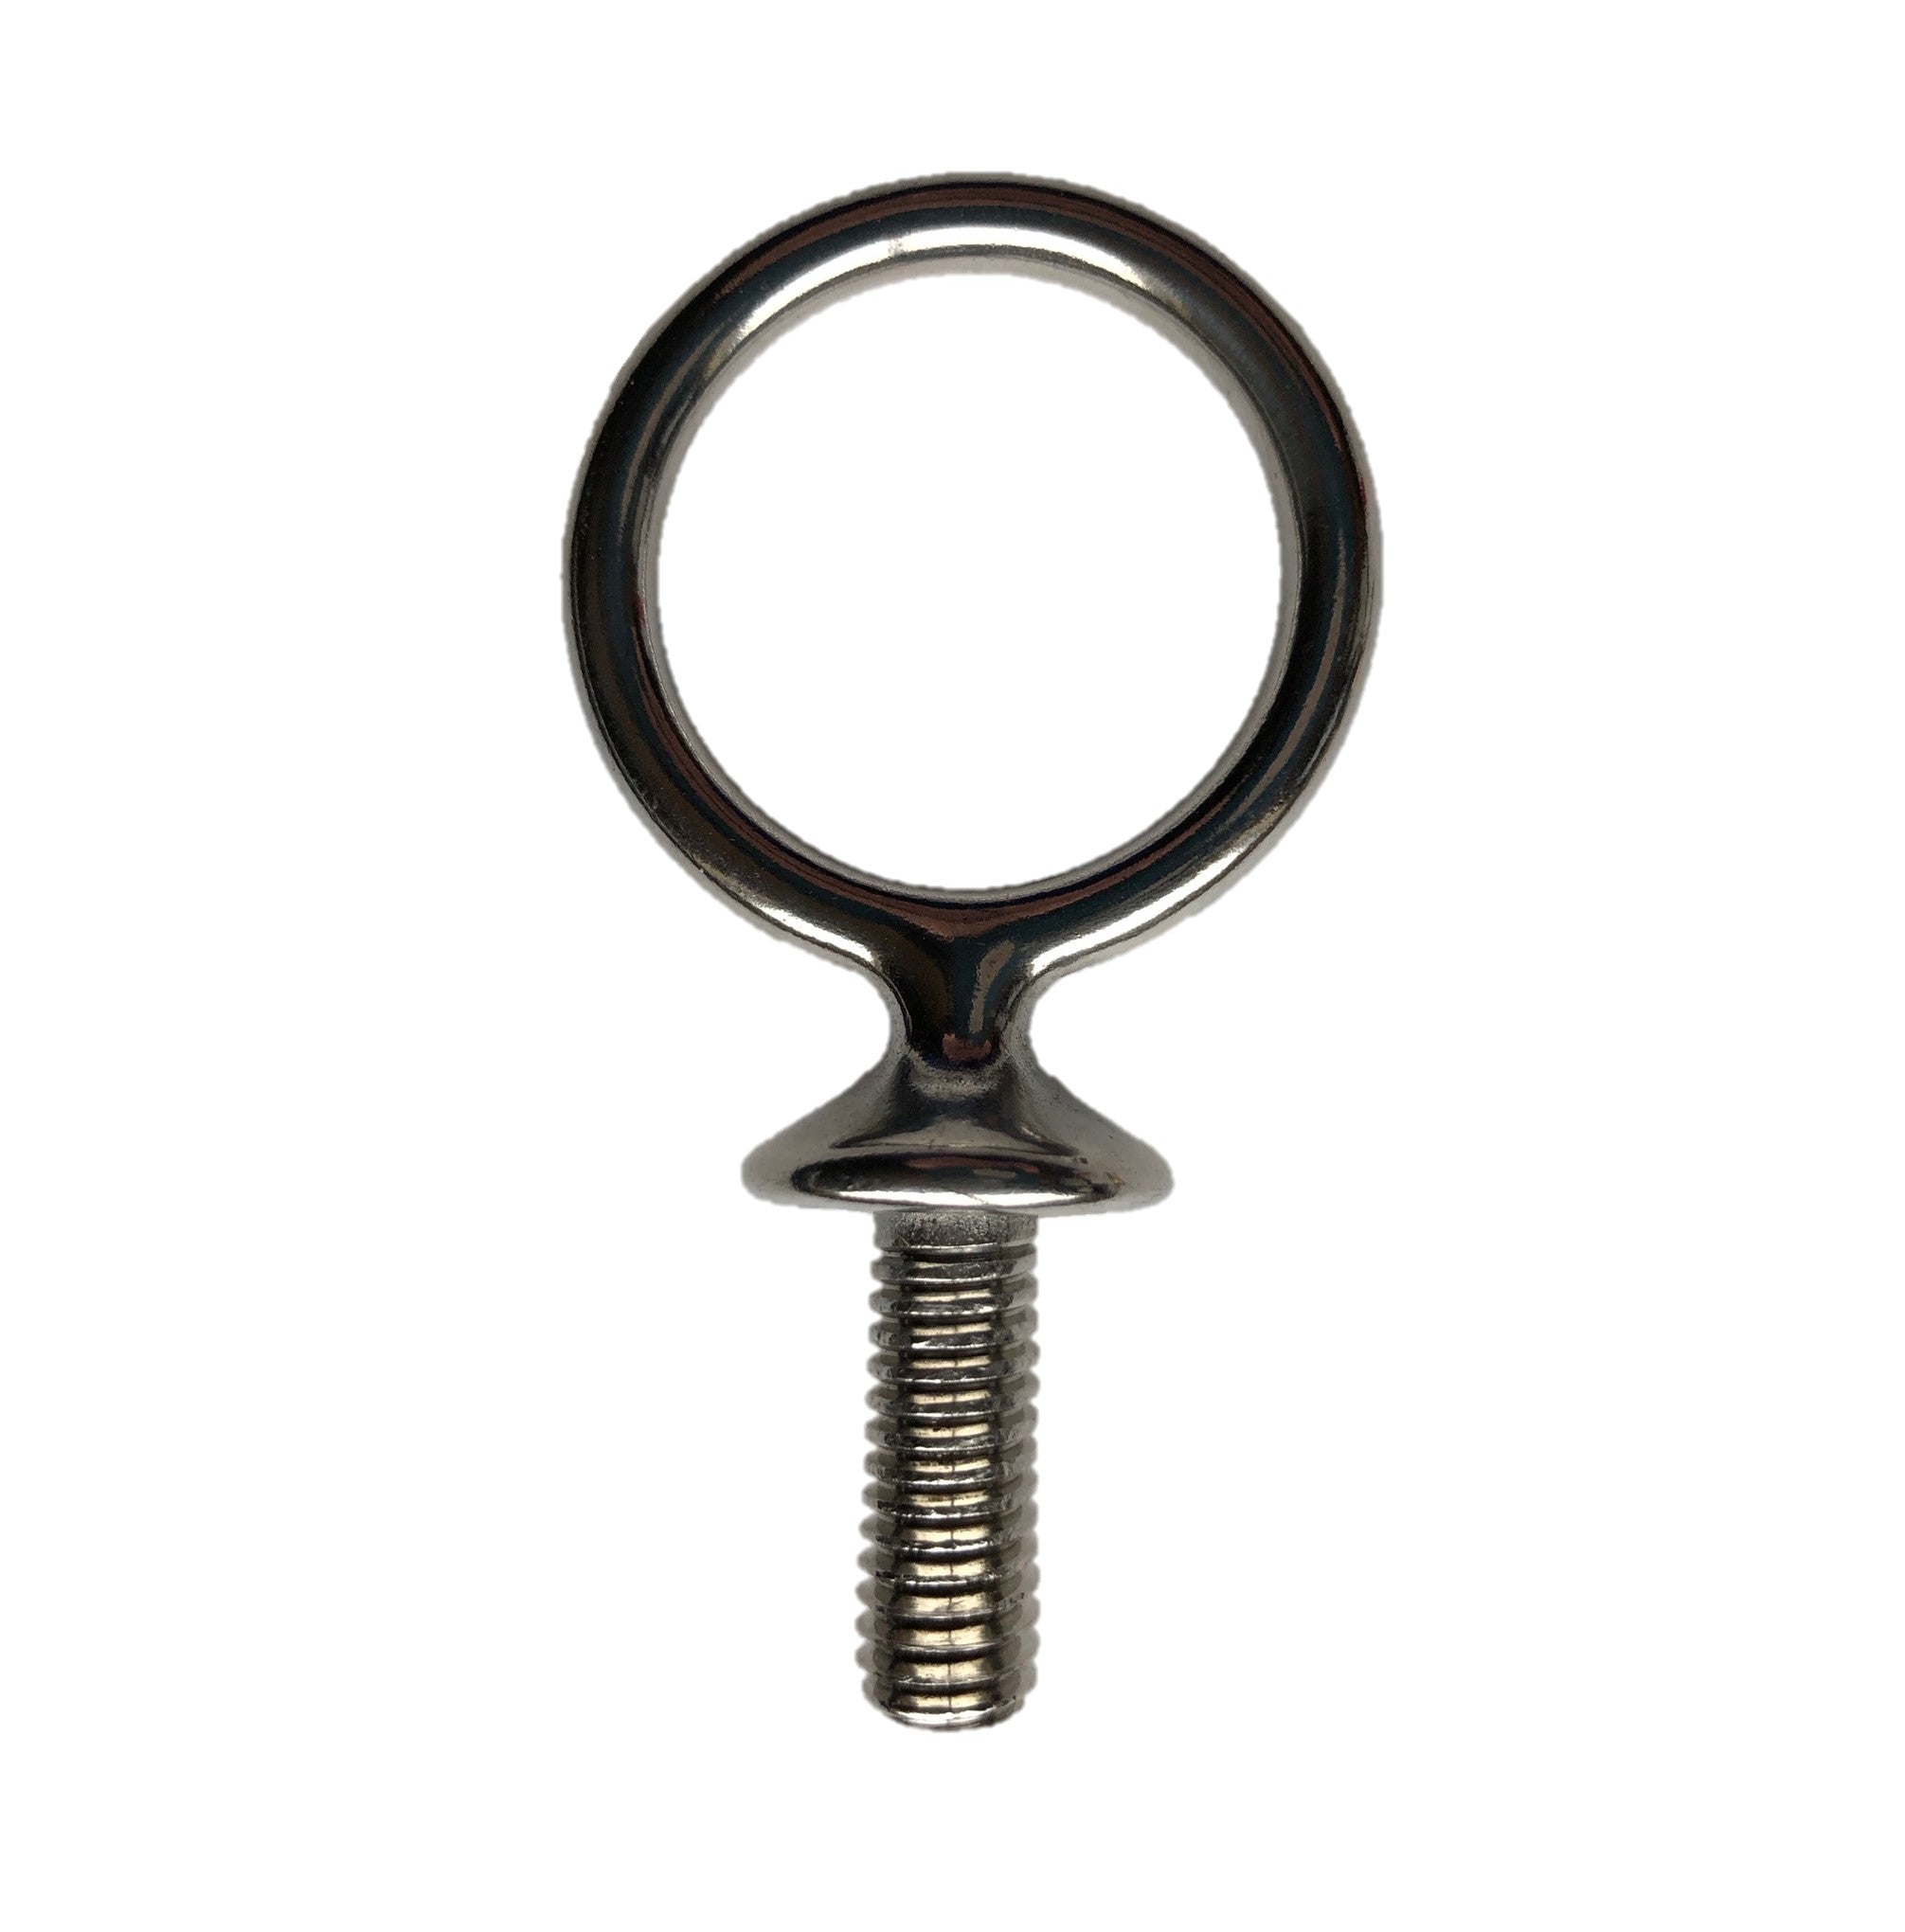
Layer Loop


This piece of hardware can take many forms in terms of harness making. There are quite a few styles of layer loops. They are similar to the breeching dees in function, but tend to be more squared off than the dees. I have harness breeching built with breeching dees and with layer loops. The breast collar uptugs are also sewn on with layer loops. Our Extra Endura harness uses large layer loops like the ones shown here to reinforce the harness uptugs, so they are less likely to pull out in the case of really tough marathon conditions.
Uptugs

The uptugs are the pieces sewn into the breeching and the breast collar that hold the hip strap and neck strap, respectively. An uptug includes the breeching ring, breeching dee, or layer loop, the synthetic or leather material, and the buckle sewn on above that. I did have an uptug pull out of a leather breeching once when my pony sat hard on the breeching spooking at an obstacle. There is more about that incident here.
Harnesses can be made as strong as possible, but if the horse is going to have a disaster, parts can give way, usually the stitching or a place where a hole is punched. There is no such thing as an indestructible harness. While we don’t want harnesses that can break easily (usually cheaper harnesses are more prone to do so), we also don’t want ones that are impossible to cut if we have to. It is good to know that there are parts that can be replaced or repaired on a harness without having to get an entirely new harness!
It was quite a few years into my carriage driving journey that I learned some of these part names above, and some were learned quite “recently” when we purchased the business (over ten years ago!). Either way, you now have a leg up on those who may not have seen this information. Feel free to share it with others so that they can learn the names of these more obscure parts as well!
Go to all IVC Educational Blog Posts
If you have arrived at this blog post directly, there is much more to see and read in our full blog!


- Choosing a selection results in a full page refresh.
4 comments
Lauren
Thanks, this was helpful!
Myrna Rhinehart
Nancy, I have added additional photos of the breeching dee and a layer loop. The breeching dees are pretty standard. The layer loops come in different forms.
Nancy allen
Tell me more about the breeching Dee and layer loop… are they one solid metal piece or two pieces connected with short strap, or…
Elizabeth Francis
A great informative post.